It’s hard to see those fancy board game tables, the ones with recessed, neoprene-lined playing areas, without salivating just a little bit. I think the first time I saw one in person was back around 2013 on the show floor at PAX East. It was some insane amount like $10,000 – enough that I remember feeling hesitant to even touch it – but it was undeniably a thing of beauty.
Ever since that fateful day, the desire to own a table like that burned within me, but with nowhere even remotely close to the kind of money you’d need to afford one, my options were pretty limited.
I’m not completely inexperienced with carpentry – I’ve framed out a few small rooms and worked on a deck before (that’s right… literal deck building) – but I’d never endeavored to make a piece of furniture. Even though I didn’t expect that the end result would be dining room worthy, I figured “what the hell” and fired up good ole MS Paint and put together a pretty simple design.

After talking it over with my wife, we settled on a trestle-style table. I decided to build a good portion of it out of framing lumber to keep costs down, while the more visible pieces would be made from pine, with the tabletop pieces being cut from a length of maple plywood.
It came together a lot quicker than I thought it would! Just over a week’s worth of evenings and a full weekend later, I had a pretty usable table. I know it’s not nearly as pretty as a Wyrmwood or a Geeknson, or something like that, but I’m a lot more proud of this one than I would be of any table I’d purchased. Plus, this one only cost me about $300.
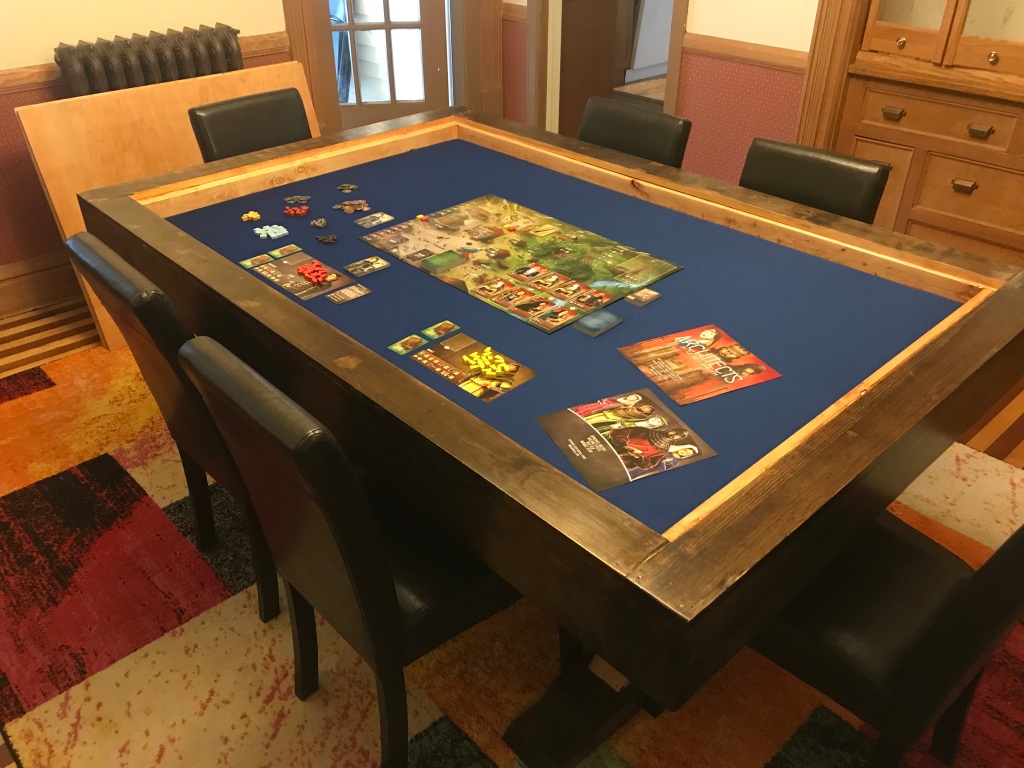
I’m sure that anybody with even a modicum of experience with woodworking could point out a dozen issues with my design or workmanship, but I don’t care that it’s not perfect, I’m quite happy with the way it turned out. It’s six feet by four feet – a pretty standard dining table size – and seats six comfortably (or eight in a pinch). It’s a comfortable height, the arm rests are a good width (three inches – perfect for leaning on), it seems pretty sturdy and, while I know it’s no master work, it could be uglier.

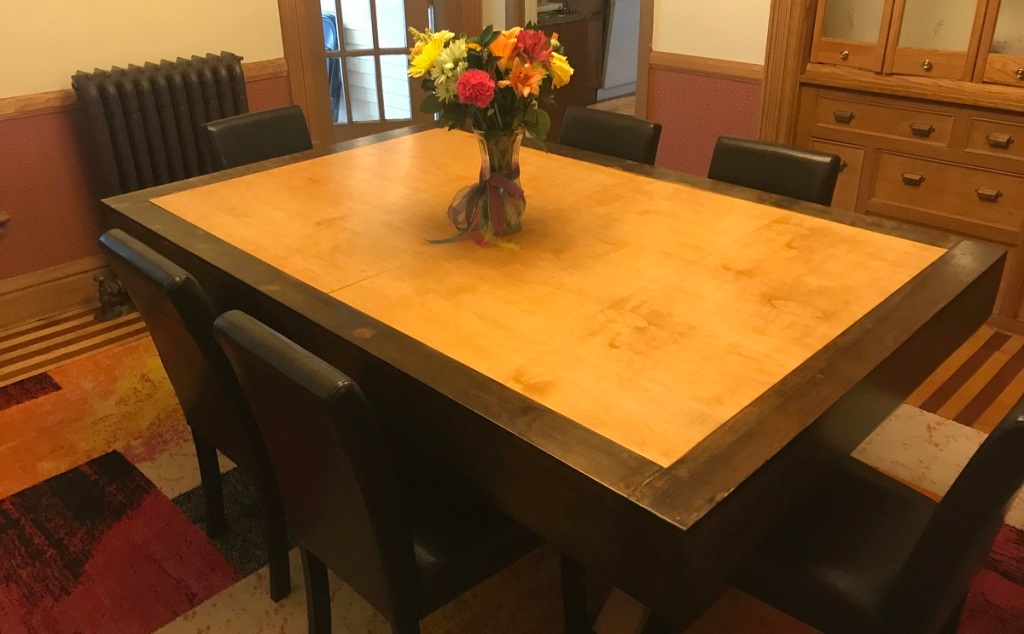
I’ve had it for just over a year now, and it has absolutely made my gaming life easier. Obviously, it’s great to be able to throw the toppers back on to keep a game set up for a few days if I want to get in multiple solo sessions, but it’s been an even bigger help for game days. I can have two games set up and ready to go – one in the vault, and one set up on top – before the first guest even arrives. As an added plus, after you play the game that’s in the vault, you don’t even have to clean it up immediately to play a new game – just throw the toppers back on and you’re good to go! It’s has honestly saved about an hour’s worth of setup and teardown time every time I’ve had friends over, and less time fiddling about means more time for actual gaming!
While I’m definitely not going to recommend that everybody just run out and buy a table for thousands of dollars (unless you’ve got a shitload of disposable income, in which case, you do you, ya know?), I do want you to know that putting this table together wasn’t nearly as hard as I’d thought it was going to be. I managed it with just a few basic power tools (pretty much just a miter saw and power drill/driver), so if you’ve ever wondered if you could do something like this, too, try it out! You might surprise yourself and end up with something you’re truly proud of.

One response to “Building a board game table”
beautiful work!
LikeLike